In this tutorial, you will learn how to create a UIStepper in Swift programmatically. UIStepper is a control that is used to increment or decrement a numeric value and in this tutorial, you will learn how to create and control its behavior.
You will learn how to:
- Call a custom function when UIStepper value changes,
- Make UIStepper value continuously increment when a user taps and holds the button,
- Make a UIStepper resume from the beginning when the maximum value is reached.
If you are interested in video lessons on how to write Unit tests and UI tests to test your Swift mobile app, check out this page: Unit Testing Swift Mobile App
Create UIStepper
To create a new UIStepper in Swift you will need to create a new instance of UIStepper class. The Swift code snippet below creates a new UIStepper object and adds it as a subview in the center of a view.
let myUIStepper = UIStepper()
myUIStepper.center = self.view.center
view.addSubview(myUIStepper)
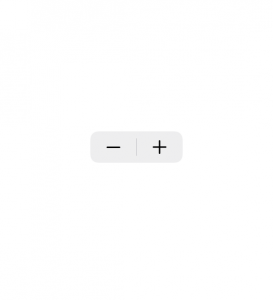
If you run the above code snippet in the Xcode playground, you will get to see how the UIStepper looks.
Controlling UIStepper
UIStepper has a few properties that you can use to control its behavior.
UIStepper Max and Min Value
UIStepper can have a maximum and minimum value. The default maximum value is 100. When the maximum value is reached, the increment button gets disabled. You can make the value reset by setting the wraps property to false.
// Set UIStepper max value to 10
myUIStepper.maximumValue = 10
To set a minimum value use:
myUIStepper.minimumValue=0
The default minimum value is 0.
Resume From The Beginning
By setting UIStepper property wraps to false you will make it resume from the beginning when the maximum value is reached.
// Resume UIStepper value from the beginning
myUIStepper.wraps = false
Make UIStepper Autorepeat
To make UIStepper continuously change its value when a user taps and holds the button, use the autorepeat property.
// If tap and hold the button, UIStepper value will continuously increment
myUIStepper.autorepeat = true
Step Value
You can make the value increment by a certain step. For example, the code snippet below will make the value of UIStepper increment or decrement by 2 every time the button is tapped. The default step value is 1.
myUIStepper.stepValue = 3
Add Target Action
To call a function when UIStepper value changes, add a target action to it.
myUIStepper.addTarget(self, action: #selector(stepperValueChanged(_:)), for: .valueChanged)
The above code snippet will call a custom function called stepperValueChanged() when a user taps on a UIStepper button.
@objc func stepperValueChanged(_ sender:UIStepper!)
  {
      print("UIStepper is now \(Int(sender.value))")
  }
Complete Swift Code Example
Below is a complete code example in Swift. You can copy and run it in your Xcode playground to see how it works. Try changing values of different properties to see how it makes the UIStepper behave.
//: A UIKit based Playground for presenting user interface

import UIKit
import PlaygroundSupport

class MyViewController : UIViewController {
    override func viewDidLoad() {
        super.viewDidLoad()

        let view = UIView()
        view.backgroundColor = .white

        let myUIStepper = UIStepper()


        // Resume UIStepper value from the beginning
        myUIStepper.wraps = false

        // Position UIStepper in the center of the view
        myUIStepper.center = self.view.center

        // If tap and hold the button, UIStepper value will continuously increment
        myUIStepper.autorepeat = true

        // Set UIStepper max value to 10
        myUIStepper.maximumValue = 10

        // Add a function handler to be called when UIStepper value changes
        myUIStepper.addTarget(self, action: #selector(stepperValueChanged(_:)), for: .valueChanged)

        view.addSubview(myUIStepper)
        self.view = view
    }

    @objc func stepperValueChanged(_ sender:UIStepper!)
    {
        print("UIStepper is now \(Int(sender.value))")
    }
}

// Present the view controller in the Live View window
PlaygroundPage.current.liveView = MyViewController()
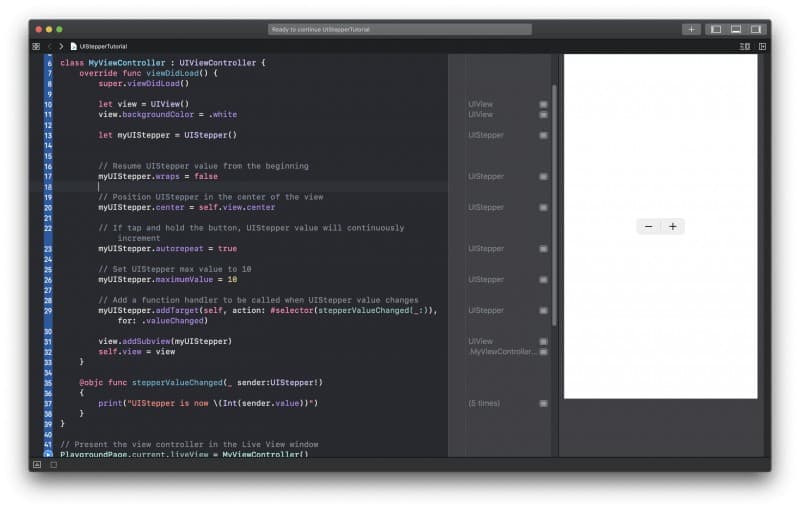
Below is a screenshot of my Xcode playground with the above code example.
I hope this tutorial was of some value to you and you now know how to add and control UIStepper in Swift programmatically. Have a look at other Swift tutorials on this web site. It has many more useful Swift code examples.
Happy coding! 🙋🏻♂️