In this tutorial, you will learn how to download and start up Keycloak as a standalone server.
For video lessons on how to secure your Spring Boot application with OAuth 2.0. and Spring Security 5, please checkout my complete video course OAuth 2.0. in Spring Boot applications.
What is Keycloak?
Keycloak is an open-source identity and access management tool focusing on modern applications and services such as mobile applications, REST APIs, and single-page applications.
How to Download Keycloak?
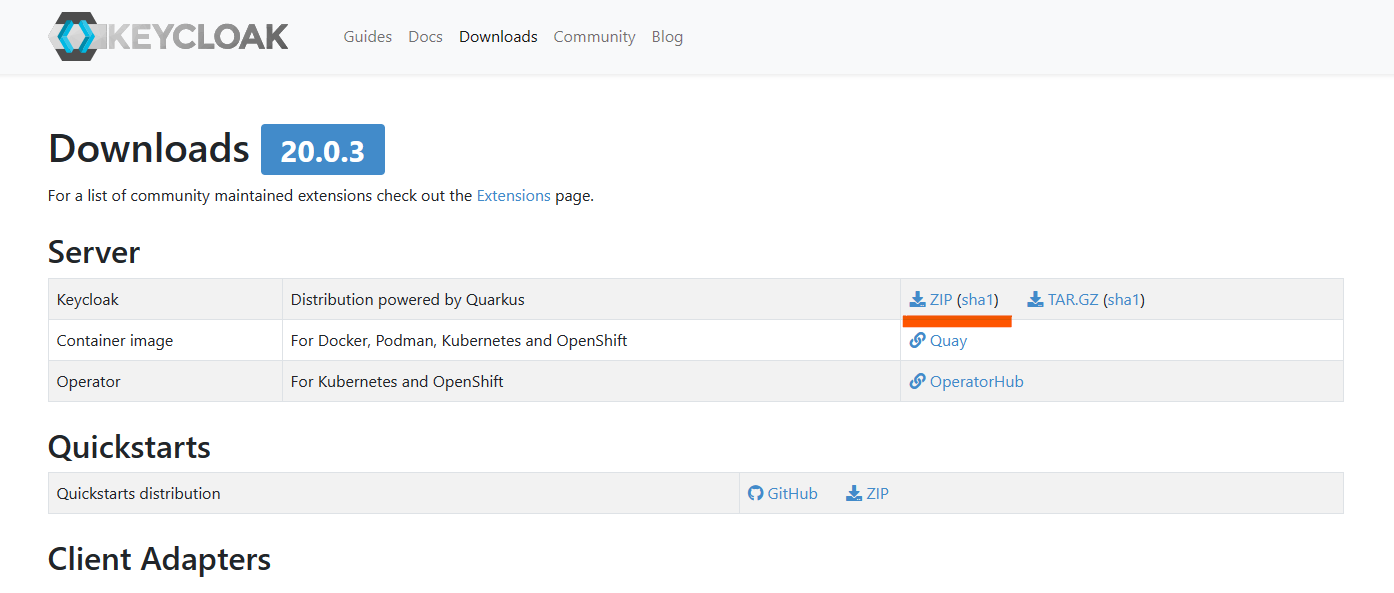
To download the Keycloak go to the official Keycloak site. You will see an interface somewhat like the one down below. Download the latest version in a ZIP file. At the time of writing this tutorial, I am using version 20.0.3.
Note that if Java is not already installed then this will not work. First, install Java SDK and add it to the environment path. You can read the step-by-step guide to installing java if you need help. Make sure to have the latest version of Java. At least greater than Java 8 JDK. You can learn more about the requirements here.
Starting up Keycloak Standalone Server
Once you have downloaded and unzipped Keycloak, open the terminal window and change the directory to the Keycloak bin folder. Then,
On Linux, run:
./bin/kc.sh start-dev
If you are on Windows, then run the following:
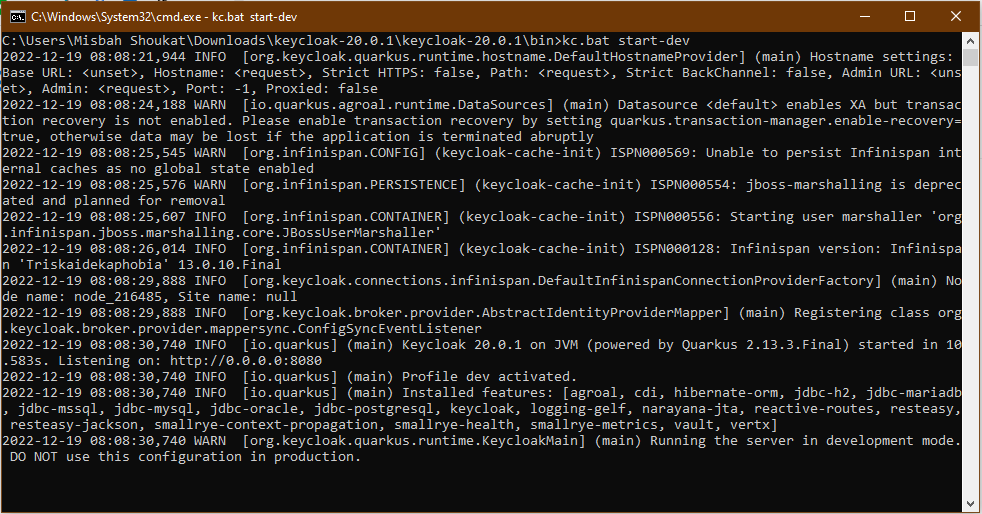
keycloak-20.0.3\bin>kc.bat start-dev
By default, Keycloak server will start on port 8080. To change port number, use the following command:
./kc.sh start-dev --http-port=8081
Once Keycloak server is up and running, the console will look like the one in the image below:
Keycloak Admin Page
By default, the Keycloak server will start on port 8080 and will be available at http://localhost:8080. To access any of its web pages you will need to open the browser window.
To access the Welcome page, open the following URL in the browser http://localhost:8080/
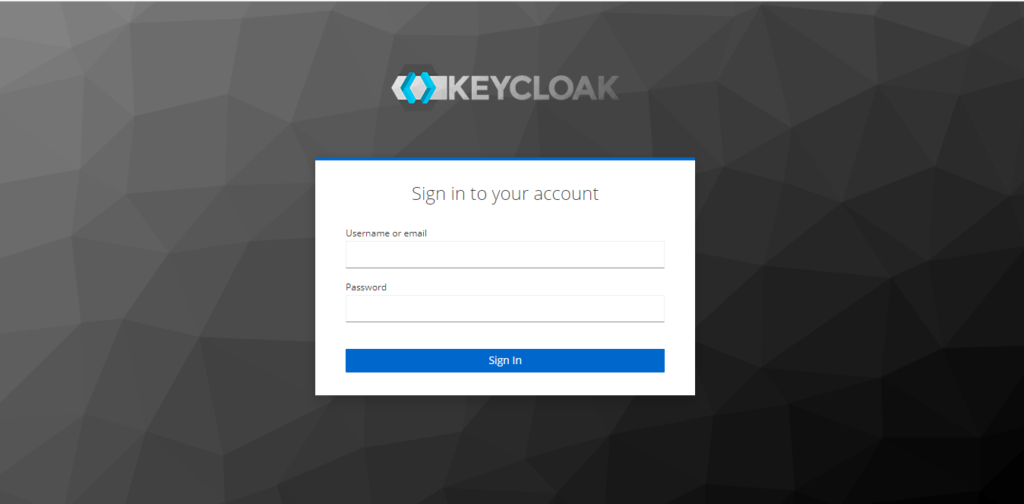
At the time of writing this tutorial, below is what the welcome page looks like.

Once the Admin user is created, you can access the Administration Console using http://localhost:8080/admin/
Starting Keycloak Docker Container
If you have Docker installed and prefer running Keycloak as a Docker container, below is an example of a Docker run command you can use. Note, that the following command also creates a new user with username “admin” and password “admin”. You can use a different username and password.
docker run -p 8080:8080 -e KEYCLOAK_USER=admin -e KEYCLOAK_PASSWORD=admin quay.io/keycloak/keycloak
The above Docker command will download and run the latest version of the Keycloak server. To run a specific version of the authorization server container, specify an image version at the end.
docker run -p 8080:8080 -e KEYCLOAK_USER=admin -e KEYCLOAK_PASSWORD=admin quay.io/keycloak/keycloak:10.0.2
For a complete list of Docker container versions, have a look at the following repository – Repository tags.
Once the server has started up, you should be able to access the Welcome page by opening http://localhost:8080 in the browser window.
Conclusion
To learn how to create a new user after the server has started, have a look at this tutorial “Keycloak: Creating a new user.”
I hope this short tutorial was of some help to you. If you are interested to learn more, have a look at my other Keycloak Server tutorials. There is more to learn.
Happy learning 🙋🏻♂️