In this tutorial, we will be exploring different techniques to integrate custom fonts into your Flutter projects. Having the ability to use custom fonts can add an extra touch of uniqueness and creativity to your applications, making them stand out from the rest.
Throughout this tutorial, we will be discussing two different approaches for incorporating custom fonts into your Flutter app. The first method is a manual process that involves loading a TrueType Font (.ttf) file into your project. This method is useful when you have a specific font in mind that is not available in any of the readily accessible font libraries.
The second method involves using the Google Fonts package. This package provides access to hundreds of different font families that you can incorporate into your project without having to download or import them manually. Using the Google Fonts package can save you a significant amount of time and effort while still giving you access to a vast collection of unique and high-quality fonts.
Method 1: Manual
Step 1: Choose a font
To begin the manual process of adding custom fonts to your Flutter project, let’s head over to the fonts.google.com website and select a font to download. There are a plethora of options available on this website, with various font families, styles, and designs to choose from.
For the purpose of this tutorial, I’ll be selecting the Oswald font as my example. You can choose any font that you like or that suits the design of your app. Once you have found the font that you want to use, click on it to open a list of styles for that particular font family. This list displays various styles of the font, such as regular, bold, italic, etc., that are available for download.
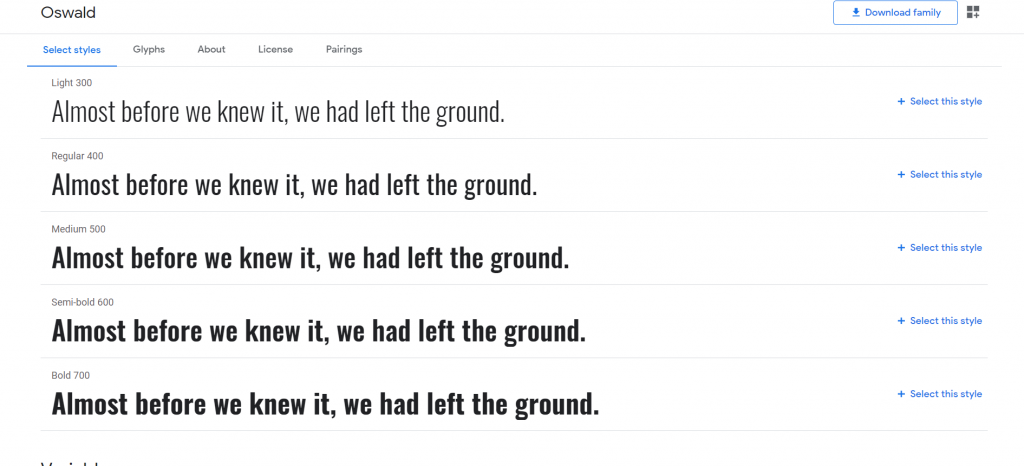
To download the selected font, we need to click on the “Select styles” tab on the font page. This tab displays a list of available styles for the font, such as regular, bold, italic, etc. Select the styles that you require for your project by clicking on the “+ Select this style” button for each style.
After selecting all the necessary styles, click on the “Download family” button, located in the top right corner of the page. This will download the selected font family as a zip archive file to your local computer.
You need to unzip it before moving ahead.
Step 2: Create a new Flutter Project
Create a new Flutter project using an IDE or a command line.
flutter create custom_font_app
This will create a new project in your current directory. You can open the project in any IDE of your choice!
After you have done that, let’s open the project in explorer.
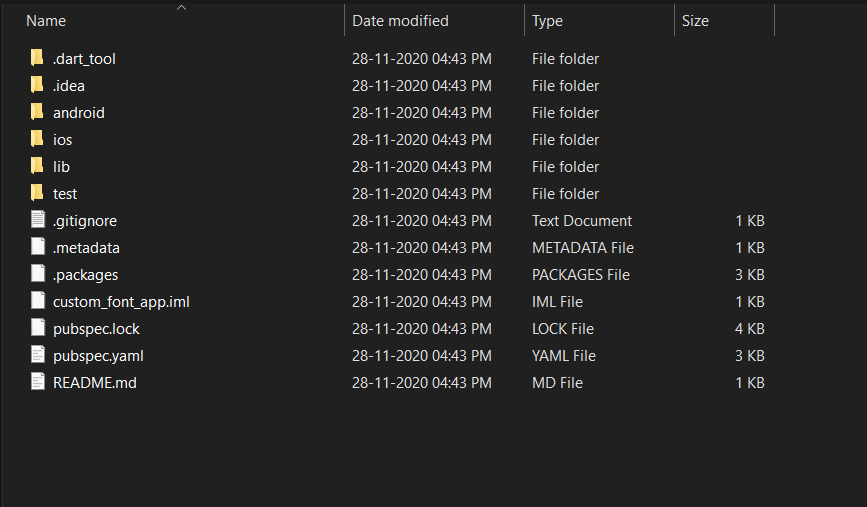
To add the unzipped font files to our Flutter project, we need to create a folder named “assets” in the root directory of our project, if it doesn’t already exist. Inside the “assets” folder, we can create a new folder named after the font family, in this case, Oswald.
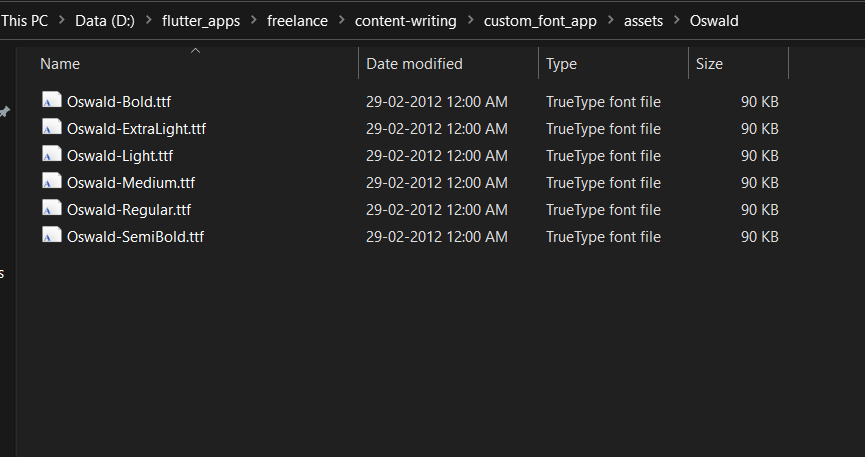
We can then transfer the unzipped folder containing our font files to the newly created “assets/Oswald” folder. This ensures that the font files are organized and easily accessible within our project.
Let’s continue with the next step of the process in the IDE. Open the “pubspec.yaml” file in your preferred IDE or text editor. This file is where we declare our app’s dependencies and configurations, including custom fonts.
By default, the pubspec.yaml file contains some comments and sample code. We need to clear out the comments and navigate to line 58, which is an example of how to declare fonts in the pubspec.yaml file.
On this line, we can add the following code to declare the font family and its associated font files:
# To add custom fonts to your application, add a fonts section here,
# in this "flutter" section. Each entry in this list should have a
# "family" key with the font family name, and a "fonts" key with a
# list giving the asset and other descriptors for the font. For
# example:
# fonts:
#   - family: Schyler
#     fonts:
#       - asset: fonts/Schyler-Regular.ttf
#       - asset: fonts/Schyler-Italic.ttf
#         style: italic
#   - family: Trajan Pro
#     fonts:
#       - asset: fonts/TrajanPro.ttf
#       - asset: fonts/TrajanPro_Bold.ttf
#         weight: 700
#
# For details regarding fonts from package dependencies,
# see https://flutter.dev/custom-fonts/#from-packages
Uncomment the example starting with fonts.
Now let’s start changing it.
- family: Oswald
- weights: refer here
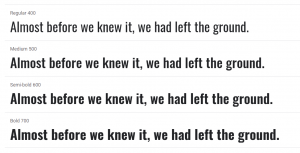
Have a look at the image below. The value of “weight” is above each text line.
Once you provide font information, your pubspec.yaml will look like this:
fonts:
    - family: Oswald
      fonts:
        - asset: assets/Oswald/Oswald-Regular.ttf
          weight: 400
        - asset: assets/Oswald/Oswald-Bold.ttf
          weight: 700
        - asset: assets/Oswald/Oswald-ExtraLight.ttf
          weight: 200
        - asset: assets/Oswald/Oswald-Light.ttf
          weight: 300
        - asset: assets/Oswald/Oswald-Medium.ttf
          weight: 600
        - asset: assets/Oswald/Oswald-SemiBold.ttf
          weight: 500
Save changes you have made to the pubspec.yaml file and run the following Flutter command in the terminal window.
flutter pub get
Next, open your app code and update the theme property of the MaterialApp widget as is shown in the code example below.
class MyApp extends StatelessWidget {
  @override
  Widget build(BuildContext context) {
    return MaterialApp(
      title: 'Flutter Demo',
      theme: ThemeData(
        primarySwatch: Colors.blue,
        fontFamily: 'Oswald',
        visualDensity: VisualDensity.adaptivePlatformDensity,
      ),
      home: MyHomePage(title: 'Flutter Demo Home Page'),
    );
  }
}
These steps should be enough to have custom fonts on your Flutter App. Feel like this was too much of a hassle? Worry not! On to method 2.
Alternative Approach: Using google_fonts package
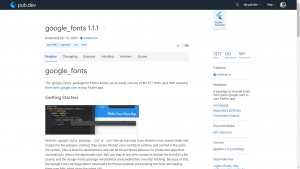
Another way to add a custom font to your Flutter app is to use the google_fonts package. This package for Flutter makes it easy for you to access any of the 977 fonts (including their variants) from fonts.google.com for use in your app. With the google_fonts package, you can apply fonts to any widget using the TextStyle class. To learn more about the google_fonts package and how to use it in your Flutter app, visit the following page: https://pub.dev/packages/google_fonts. The package offers a wide range of fonts that can help improve the overall look and feel of your app, so be sure to explore the options available.
Add Google Fonts to pubspec.yaml
The first step is to update the pubspec.yaml file as shown below.
dependencies:
  flutter:
    sdk: flutter


  # The following adds the Cupertino Icons font to your application.
  # Use with the CupertinoIcons class for iOS style icons.
  cupertino_icons: ^1.0.0
  google_fonts:
Usage
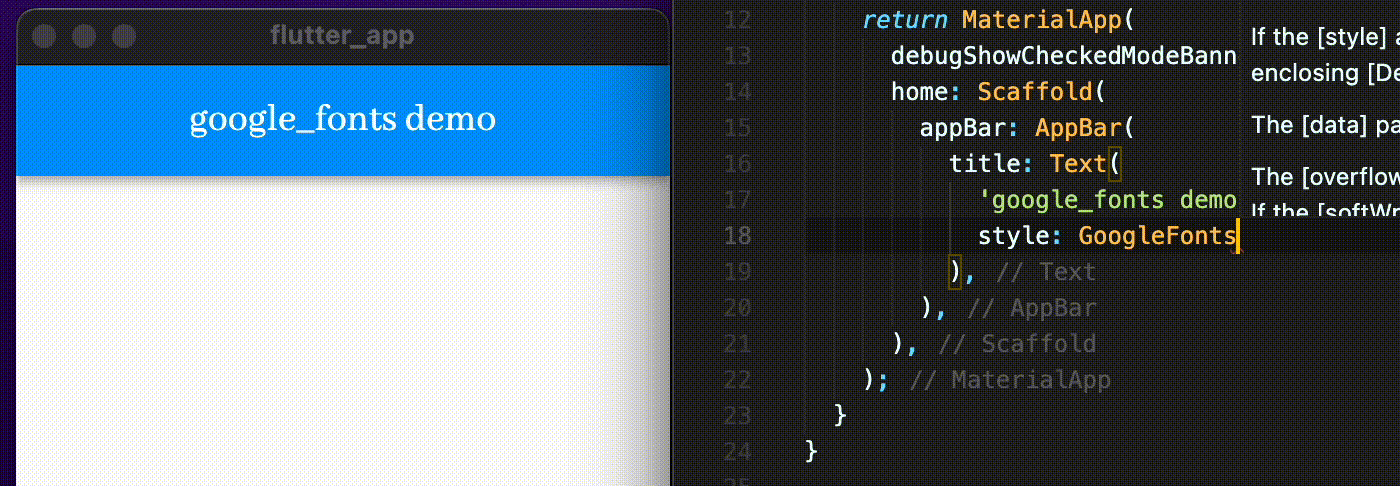
Using Google fonts is very simple. To use it throughout the app, you just need to change the textTheme in ThemeData inside your MaterialApp widget.
To use Lato:
MaterialApp(
  theme: ThemeData(
    textTheme: GoogleFonts.latoTextTheme(
      Theme.of(context).textTheme,
      ),
   ),
);
If you want to use it only at a particular place:
Text(
  'This is Google Fonts',
  style: GoogleFonts.lato(),
),
Drawbacks
One potential drawback of using Google Fonts is that it may try to retrieve fonts from an HTTP server, which can cause slower loading times. However, a faster and more reliable option is to bundle the font with your app’s assets. Don’t worry, though – Google Fonts can automatically detect any fonts that you’ve declared in the assets section of your pubspec.yaml file.
To ensure optimal performance, it’s recommended that you download the font and add it to your assets folder, especially once you’re confident about the font style you’ll be using. This way, you can avoid downloading the font every time your app is used. To make Google Fonts read the font style from an assets folder, rather than downloading it every time, follow the steps below.
Loading Fonts from Assets Directory with Google Fonts
Here are the steps you need to follow to use your preferred fonts from Google Fonts in your Flutter app:
- First, download the font files you’ll be using from the Google Fonts website. Remember, you only need to download the weights and styles you’ll actually be using for any given font family.
- Next, move those font files to a top-level directory in your app, such as “google_fonts”. You can refer to the image provided in the original text for a visual guide.
- Finally, ensure that you’ve listed the directory (e.g. “google_fonts/”) in your pubspec.yaml file under the “assets” section. You can refer to the image provided in the original text for an example of what this should look like.
And that’s it! The Google Fonts package will automatically search for and apply these fonts in your app. By bundling the fonts with your app, you’ll enjoy faster loading times and improved performance overall
Note: Now you don’t need to declare the fonts in the fonts section of pubspec.yaml, as we saw in the first method.
Frequently Asked Questions
- Can I use any font in my Flutter app?
Yes, you can use any font in your Flutter app. However, you need to make sure that you have the proper license to use the font. Some fonts are available for free and can be used without any restrictions, while others require a license or permission from the creator. - How do I add a custom font to my Flutter app?
You can add a custom font to your Flutter app by including the font files in your project and updating your pubspec.yaml file to reference the font. You can also use the Google Fonts package to easily add custom fonts to your app. - Should I use Google Fonts or add the font files to my project?
It depends on your needs. If you are only using a few custom fonts, it may be easier to include the font files in your project. However, if you need to use many different fonts, or you want to easily switch between fonts, using the Google Fonts package may be a better option. - Can I customize the style of my custom font in Flutter?
Yes, you can customize the style of your custom font in Flutter. You can use the FontWeight and FontStyle properties to adjust the weight and style of your font. - How do I localize custom fonts in Flutter?
You can localize custom fonts in Flutter by including the font files in your language-specific asset directories and updating your localization files to reference the font. You can also use the Google Fonts package with localization support to easily localize your fonts.
Happy mobile app development with Flutter 🙂!