There is a number of ways to disable a unit test in Xcode although it might not seem very obvious at first. In this blog post, I will share with you just a few that I personally use from time to time.
Why Disable Unit Test?
I am a strong advocate to always write unit tests and not to disable them but there are situations when you want to temporarily disable one or more unit tests to be able to run your project.
One of these situations is when the project is old and is a bit outdated. It does not compile for some reasons and for you to be able to run it just to have a quick look at it is to disable or comment out pieces of code that cause problems. Failing unit tests will not let you run the app to see how it looks and works, so you might want to temporarily disable a failing or not compiling unit test to be able to run the app.
Never disable unit tests unless you are 100% sure and know why they are failing. Remember, unit tests are your friend! They watch out for you not to break things, keep you out of troubles and make sure the app still works as it was designed to work.
Use a Different Prefix
One of the quickest ways to disable a unit test is to simply rename its name. Xcode will execute only those test methods that start with a prefix “test”. If a method name does not start with a test prefix, it will not be executed. Below are a few examples of test names. Notice how I have skipped testC()?
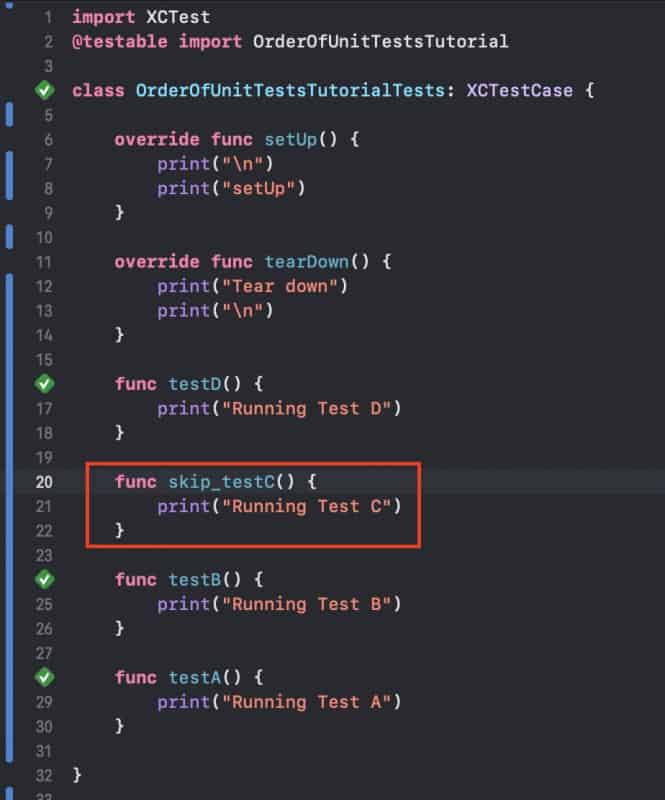
To skip a test you can simply make it not start with a test prefix. Adding a different prefix like “skip_” helps you have a visual aid and understand from a method name that this test method will be skipped and you can also quickly search Xcode for all test methods with the prefix “skip_” to enable them back when ready.
Disable From a Drop Down Menu
Another way to disable a single selected unit test is to do a right mouse click on the Play button and then chose to disable the test method option. The image below demonstrates this approach.
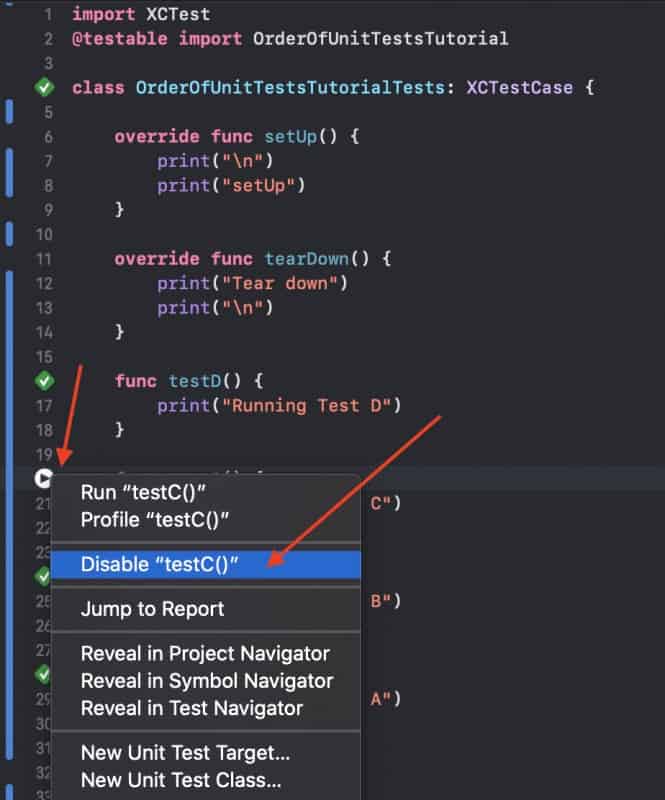
I personally do not like this method very much because after you have disabled the test from running, currently in Xcode 11, there is no visual indication that the test will not run. The play button is still there if I move the mouse over the test and I will still be able to run this selected test if I click on it. However, when looking at the source code, there is no visual indication that this particular test is disabled and is going to be skipped.
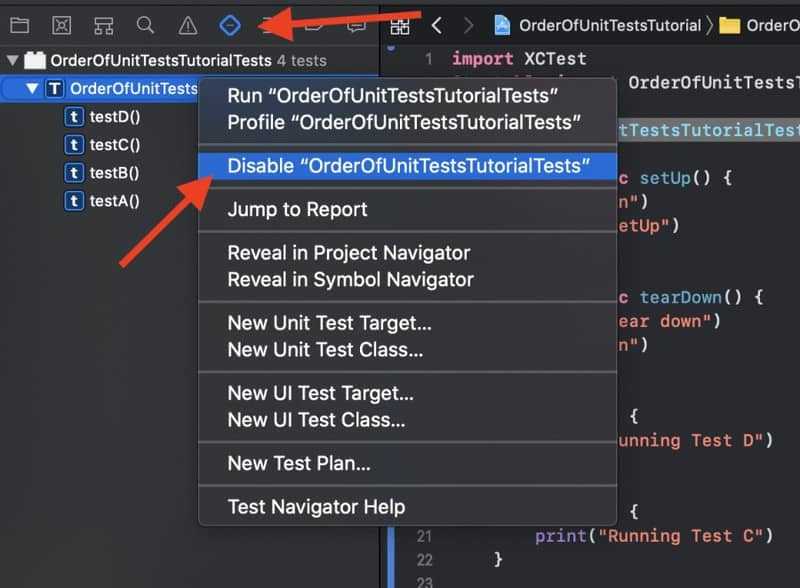
Disable All or a Single Unit Test in a Class
Another way to disable a single unit test or even all unit tests in a Test class is to use the Test Navigator. I like this approach a little bit better because after disabling a single or even all unit tests in a class there is at least a little visual indication that a test method will be skipped. Those test methods that will be skipped will be a little bit grayed out.
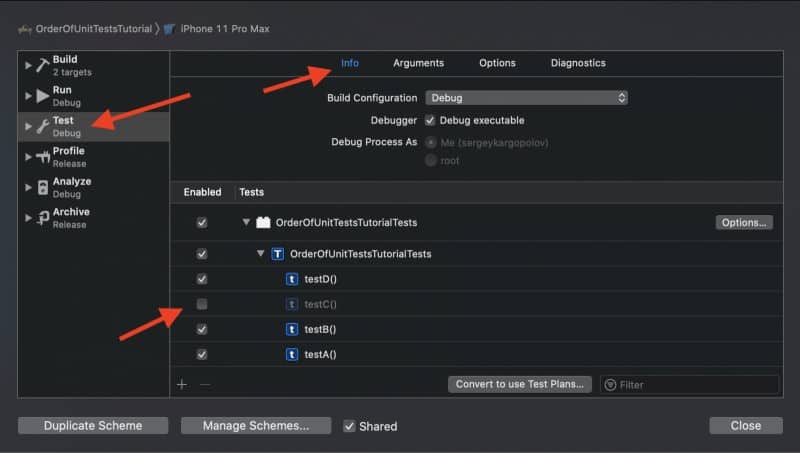
Edit Scheme
Another way to disable all Unit tests or a selected test method is to edit the current scheme and to disable test cases from there.
Step 1. Edit Scheme

Step 2. Disable One or All Test Cases
If you click around the current scheme options you will see that there are other ways to prevent Unit Tests from running when you build or run your iOS Mobile app. I will let you explore those options on your own. By now you should be very well equipped and if needed can disable all or a single unit test in Xcode.
I hope this blog post was of some value to you. There are other useful blog posts on Unit Testing iOS applications you will find on this site if you click around or check the Unit Tests category.
Happy unit testing! 🙋🏻♂️