In this tutorial, I will show you how to validate an email address in Swift using regular expression. I will:
- Use a
TextFieldfor user input - Use a regular expression for email validation, and
- Change the background color to indicate whether the email is valid.
At the end of this tutorial you will find a complete code example that you can use in your app to validate user’s email address.
Step 1: TextField for Email Input
To start with, you’ll need to create a TextField in your SwiftUI view where users can input their email addresses. This TextField will be bound to a @State variable that will store the current value of the email input.
struct EmailValidationView: View {
    @State private var email = ""
    // ...
}
Step 2: Email Validator Function
Next, you’ll create a function that checks if the email address is valid. This function will use a regular expression to match the input against the standard email format.
func isValidEmailAddress(emailAddressString: String) -> Bool {
        var returnValue = true
        let emailRegEx = "[A-Z0-9a-z.-_]+@[A-Za-z0-9.-]+\\.[A-Za-z]{2,3}"

        do {
            let regex = try NSRegularExpression(pattern: emailRegEx)
            let nsString = emailAddressString as NSString
            let results = regex.matches(in: emailAddressString, range: NSRange(location: 0, length: nsString.length))

            if results.count == 0
            {
                returnValue = false
            }
        } catch let error as NSError {
            print("invalid regex: \(error.localizedDescription)")
            returnValue = false
        }
        return  returnValue
    }
Regular expressions (regex) are used for email validation because they allow us to check the input string against a pattern that represents the structure of a valid email address. Regex is a powerful tool for pattern matching and is widely used in programming for tasks like parsing and validation.
Step 3: Change TextField Background Color According to Email Validator
To provide visual feedback to the user, you can change the background color of the TextField based on the validation result. If the email is valid, the background will be white, and if it’s invalid, it will be a light red.
TextField("Enter your email", text: $email)
    .background {
        emailIsValid ? Color.white : Color.red.opacity(0.3)
    }
    // ...
Validating Email Address: Complete Code Example
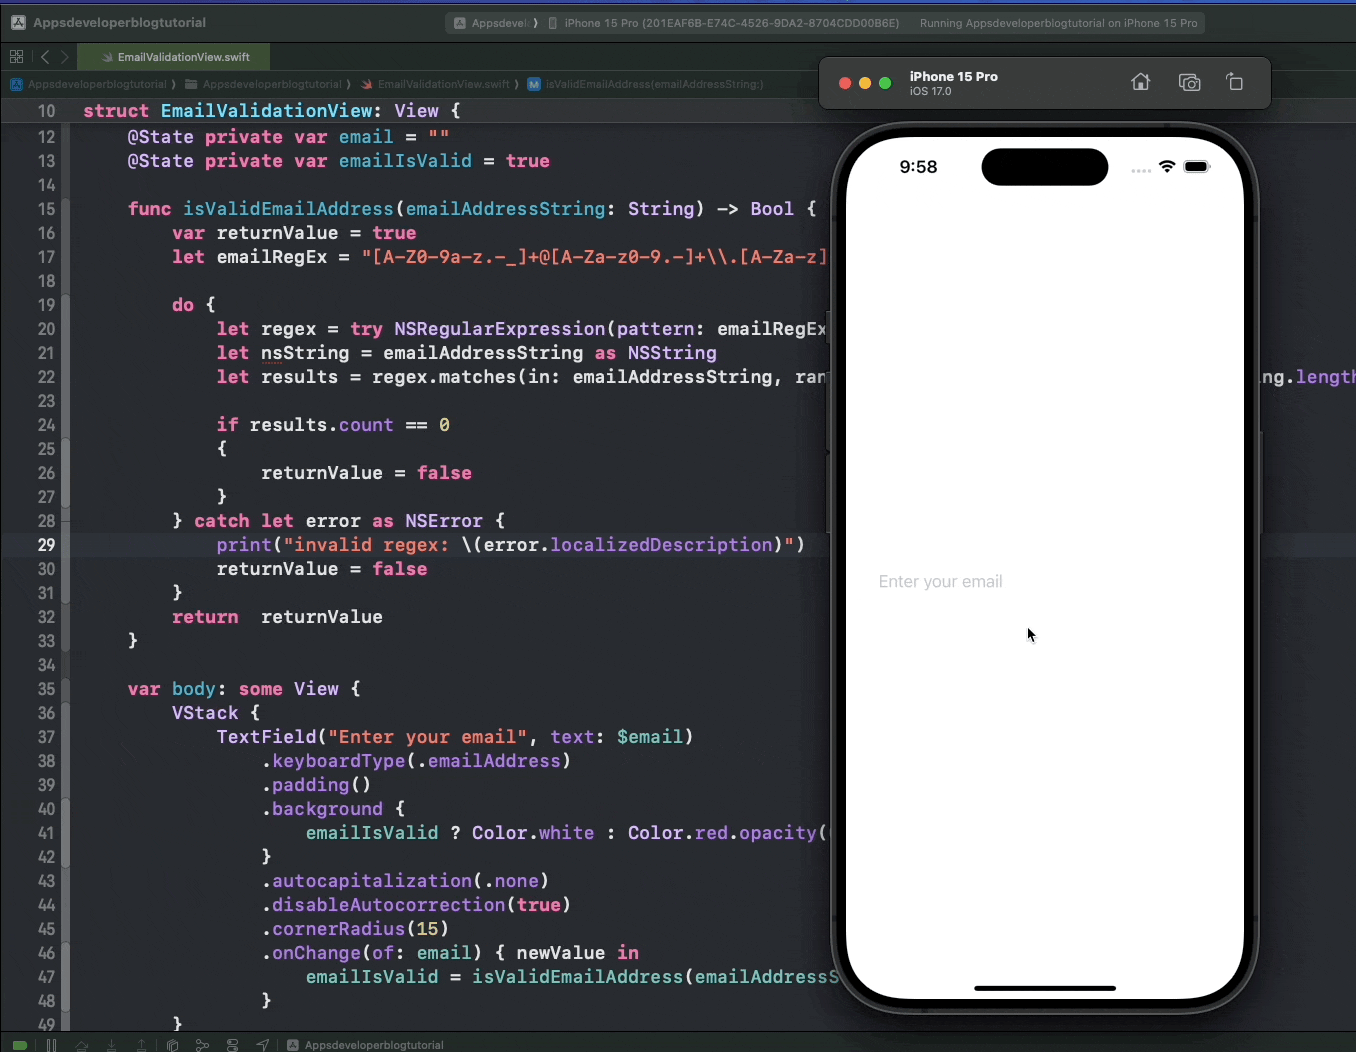
Here’s the complete code example that includes all the above steps:
import SwiftUI

struct EmailValidationView: View {

    @State private var email = ""
    @State private var emailIsValid = true

    func isValidEmailAddress(emailAddressString: String) -> Bool {
        var returnValue = true
        let emailRegEx = "[A-Z0-9a-z.-_]+@[A-Za-z0-9.-]+\\.[A-Za-z]{2,3}"

        do {
            let regex = try NSRegularExpression(pattern: emailRegEx)
            let nsString = emailAddressString as NSString
            let results = regex.matches(in: emailAddressString, range: NSRange(location: 0, length: nsString.length))

            if results.count == 0
            {
                returnValue = false
            }
        } catch let error as NSError {
            print("invalid regex: \(error.localizedDescription)")
            returnValue = false
        }
        return  returnValue
    }

    var body: some View {
        VStack {

            TextField("Enter your email", text: $email)
                .keyboardType(.emailAddress)
                .padding()
                .background {
                    emailIsValid ? Color.white : Color.red.opacity(0.3)
                }
                .autocapitalization(.none)
                .disableAutocorrection(true)
                .cornerRadius(15)
                .onChange(of: email) { newValue in
                    emailIsValid = isValidEmailAddress(emailAddressString: newValue)
                }

        }
        .padding()

    }
}
Conclusion
I hope this tutorial was helpful to you. Now you have a solid understanding of how to create a basic email validation feature in SwiftUI, which you can then build upon to create more complex and robust user input validation systems in your applications.
For more Swift code examples and tutorials, please check the Swift Code Examples page on this website.